How Long Until You Can Lay Tiles After Floor Screeding? A Bridgwater Homeowner's Timeline
How long before you can walk on screed, lay tiles or turn on underfloor heating? A plain-speaking guide for Somerset and Dorset homes.

After the pour: what actually happens while screed dries
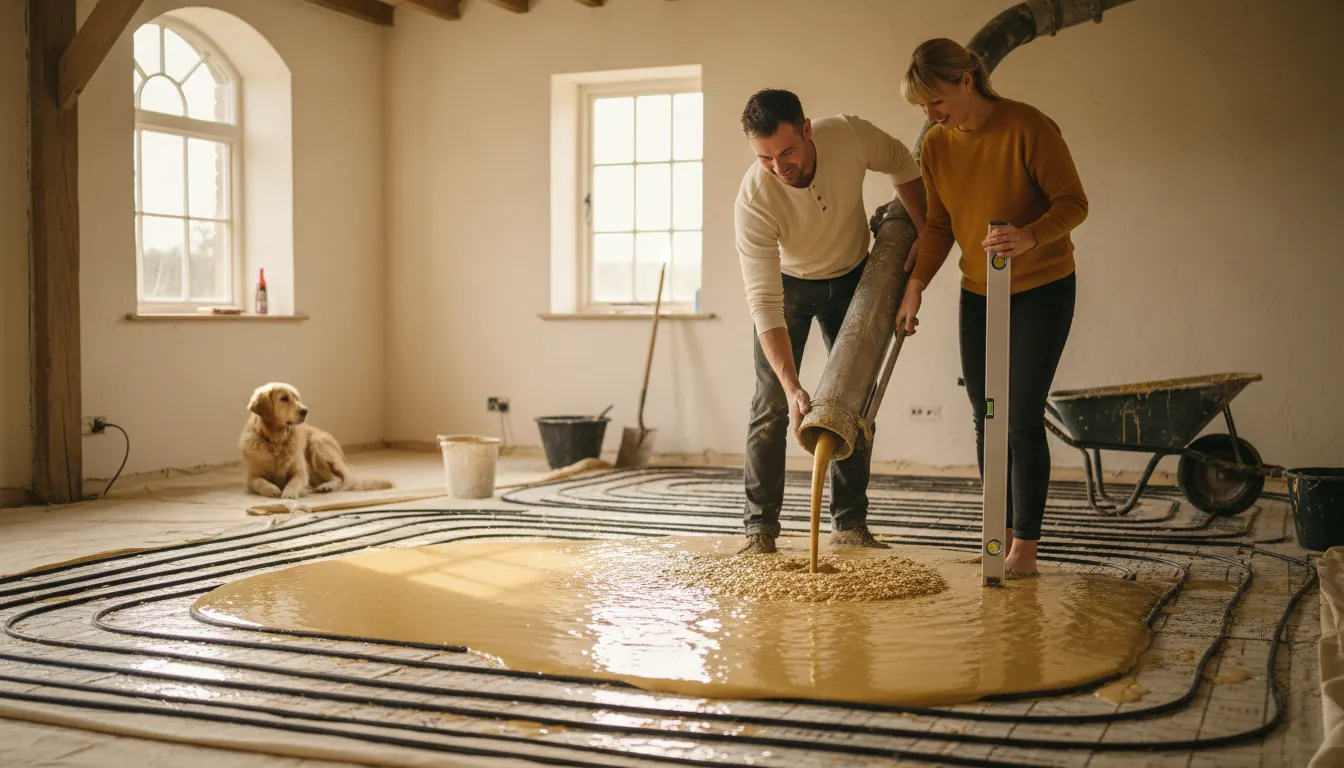
The screed is down. The pump has left. The floor looks smooth and level. And now everyone on site wants to know the same thing: how long do we have to wait?
It is a fair question, and the honest answer is that it depends on more than just the clock. Liquid screed (sometimes called flow screed or anhydrite screed) dries differently to traditional sand and cement, and the conditions inside a building in Somerset or Dorset in October are not the same as they are in June. Getting the drying stage right is just as important as getting the pour right. Rush it, and you risk cracking, bonding failures and floor finishes that never sit properly.
This guide walks through the drying process in plain terms: what is happening, what affects it, what you can and cannot do at each stage, and when your floor is genuinely ready for the next trade.
What "drying" actually means for liquid screed
Liquid screed is a pumpable, self-levelling material. Because it flows into place rather than being laid and compacted by hand, it contains more water than a sand and cement mix. That water needs to leave the screed before any floor finish goes down.
There are two stages to understand:
- Foot traffic strength: the point at which the surface is firm enough to walk on without damaging it.
- Moisture-ready: the point at which the residual moisture content is low enough for your chosen floor finish to be laid without risk of adhesive failure, cupping in timber, or trapped damp under vinyl.
These two stages are not the same. The first comes relatively quickly. The second takes much longer, and it is the one most people underestimate.
When can you walk on liquid screed?
Liquid screed reaches a walkable surface surprisingly fast compared to sand and cement. In most conditions, it is firm enough to take light foot traffic within 24 to 48 hours of the pour. Some products are quicker in warm, well-ventilated conditions.
That said, "walkable" does not mean "ready for work." Walking on screed too early, or allowing other trades to drag materials across it, can leave indentations, scuff marks or surface damage that affects how flat the finished floor is. Even when it is technically walkable, it is worth being careful for the first few days.
A practical rule: if you are unsure, wait. The floor is not going anywhere.
The longer drying process: why it takes as long as it takes
Moisture leaves liquid screed gradually, from the surface downward. The thicker the screed, the longer this takes. A floor laid over underfloor heating pipes will typically be deeper than a thin topping screed, so it holds more water and needs more time.
Environmental conditions matter enormously:
- Temperature. Cold slows drying significantly. A floor poured in a Taunton extension in November, with no heating and single-glazed windows, will take noticeably longer to reach the right moisture content than the same floor poured in summer.
- Ventilation. Air movement carries moisture away. A sealed-up building with no airflow will dry slowly. Opening windows and doors (once the screed has set) helps.
- Humidity. Somerset and Dorset can be damp. High ambient humidity means the air cannot absorb moisture from the screed as efficiently.
- Depth. Deeper screed holds more water. It is simple physics.
As a general working guide, liquid screed typically needs around one millimetre of depth per day to dry under reasonable conditions. So a 40mm screed could take around 40 days to reach an appropriate moisture level for most floor finishes. That is a rough rule of thumb, not a guarantee, and real-world conditions often extend that timeline rather than shorten it.
If you are working to a tight programme on a new build in Yeovil or a renovation in Weston-super-Mare, factor this into the schedule early. It is much easier to plan around the drying time than to explain to a floor fitter why the screed is not ready.
Can you speed up the drying time?
Yes, within reason. The most effective approaches are:
- Ventilation. Once the screed has set (usually after 24 to 48 hours), open the building up. Cross-ventilation is better than a single open door.
- Dehumidifiers. Running dehumidifiers in the space actively pulls moisture from the air and, in turn, draws it out of the screed faster. This is particularly useful in autumn and winter builds across Somerset.
- Gentle background heat. A steady, low-level background temperature helps. Do not use direct heaters blasting heat onto the surface; this can cause the top layer to dry faster than the layer beneath, which leads to cracking.
What you should not do is try to force-dry screed with high heat or turn on underfloor heating immediately after the pour. The heating commissioning process for underfloor heating systems has its own protocol, and starting it too early causes the screed to dry unevenly. If you want to know more about that process, our guide on Underfloor Heating and Liquid Screed: A Somerset Guide covers it in detail.
Testing before you lay a floor finish
The only reliable way to know if screed is ready for a floor finish is to test the moisture content. A professional floor fitter should do this using a calibrated hygrometer or a carbide bomb test before any adhesive, underlay or board goes down.
Do not rely on the screed feeling dry to the touch. The surface can feel perfectly dry while the body of the screed still holds significant moisture. This is one of the most common causes of problems with timber and luxury vinyl tile installations.
If you are planning to lay engineered timber flooring, the moisture content threshold is typically lower than for ceramic tiles or vinyl. Your floor fitter will advise on the specific target for their product, but the key point is: test first, lay second.
What Josh found when the job was done properly
Getting the drying stage right starts with a well-executed pour. A screed that is laid at the correct depth, with a genuinely level finish, gives every subsequent trade the best possible starting point.
Really happy with the work. The finish was spot on and you can tell a lot of care and attention went into getting everything right. Turned up when he said he would, worked hard and left everything tidy afterwards. Would definitely recommend to anyone looking for a reliable and professional screeding service.
Josh Phillips
That kind of finish matters not just aesthetically but practically. An uneven screed, or one with high spots and dips, will have inconsistent depth across the floor, which means inconsistent drying. A flat, well-finished pour dries more evenly and causes fewer problems for the trades that follow.
How this fits into your build programme
Whether you are managing a self-build in Bridgwater, an extension in Taunton or a commercial fit-out in Yeovil, the screed drying period needs to sit in the programme as a genuine, non-negotiable phase. It is not dead time; other trades can be working elsewhere in the building. But the floor itself needs to be left alone.
A realistic sequence looks like this:
- Subfloor and insulation prepared, underfloor heating (if fitted) pressure-tested.
- Liquid screed poured and levelled.
- 24 to 48 hours: light foot traffic only, no materials stored on the floor.
- Ventilation and, if needed, dehumidification begins.
- Moisture testing carried out before any floor finish is laid.
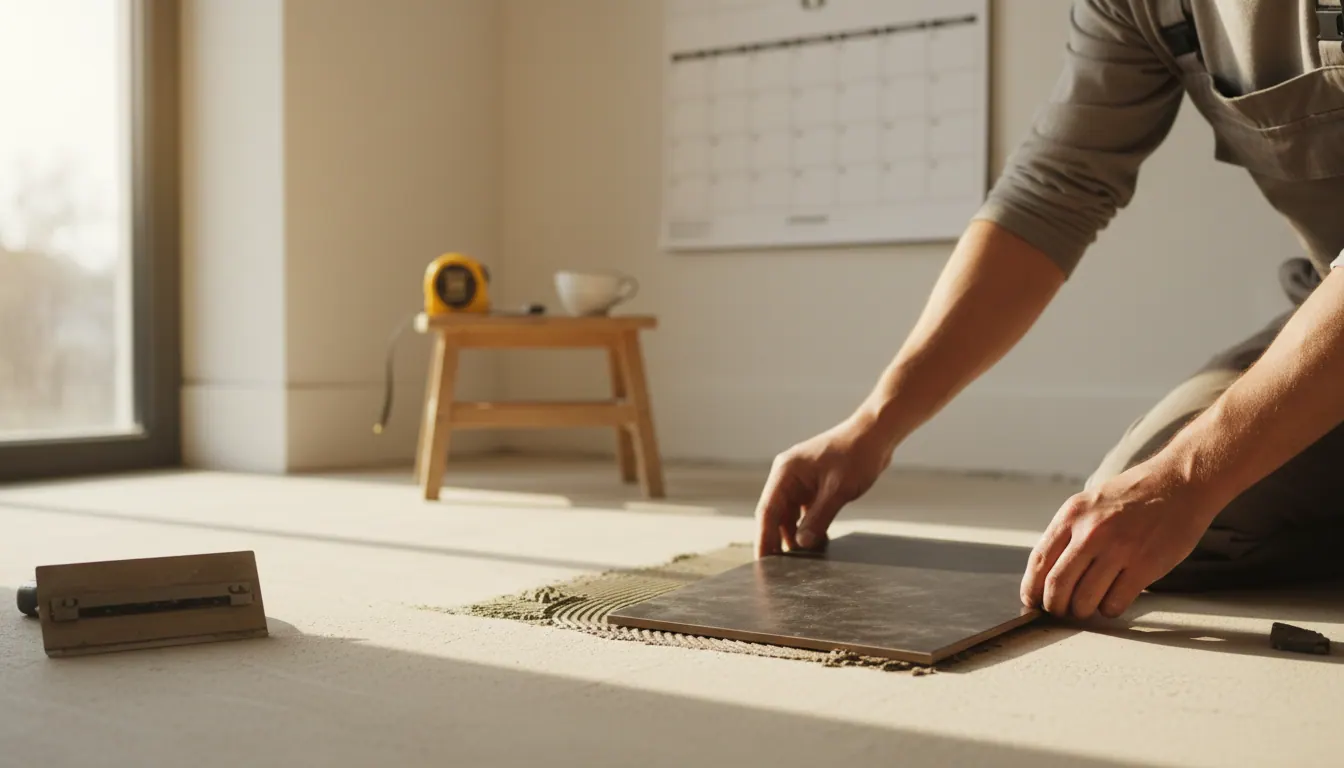
- Floor finish installed once the screed passes the moisture test.
If you are not sure how to get the subfloor and underfloor heating ready before we arrive, our Preparing Your Floor for Liquid Screed: A Somerset Checklist covers exactly that.
Frequently asked questions
How long does floor screed take to dry before you can walk on it? Liquid screed is typically firm enough for light foot traffic within 24 to 48 hours of the pour. That is not the same as being ready for floor finishes, which requires the moisture content to drop to an appropriate level first, a process that takes considerably longer.
Can you walk on screed after 4 hours? In most cases, no. Four hours is usually too early for liquid screed. The surface may look set, but it is still soft enough to take permanent damage from footprints or tool marks. Wait for the 24-hour mark at the earliest, and treat the floor carefully even then.
How can I speed up screed drying time? The most practical approaches are good ventilation, running dehumidifiers in the space, and maintaining a gentle background temperature. Avoid direct heat sources on the surface and do not commission underfloor heating before the screed has gone through its initial curing period.
What are the most common mistakes people make after screeding? The two we see cause the most problems are allowing trades back onto the floor too early (causing surface damage) and laying floor finishes before the screed has been properly moisture-tested. Both are avoidable with a sensible programme and a little patience.
Ready to plan your project?
If you have a floor to screed in Somerset, Dorset, Bridgwater, Taunton, Yeovil or Weston-super-Mare, we are happy to talk through what is involved and give you a free quotation. Just let us know your floor area and location and we will take it from there.
Get in touch with us and we will get back to you promptly.